Settings
This is the settings page. Here you can configure the widget settings.
This is the list of settings you can configure:
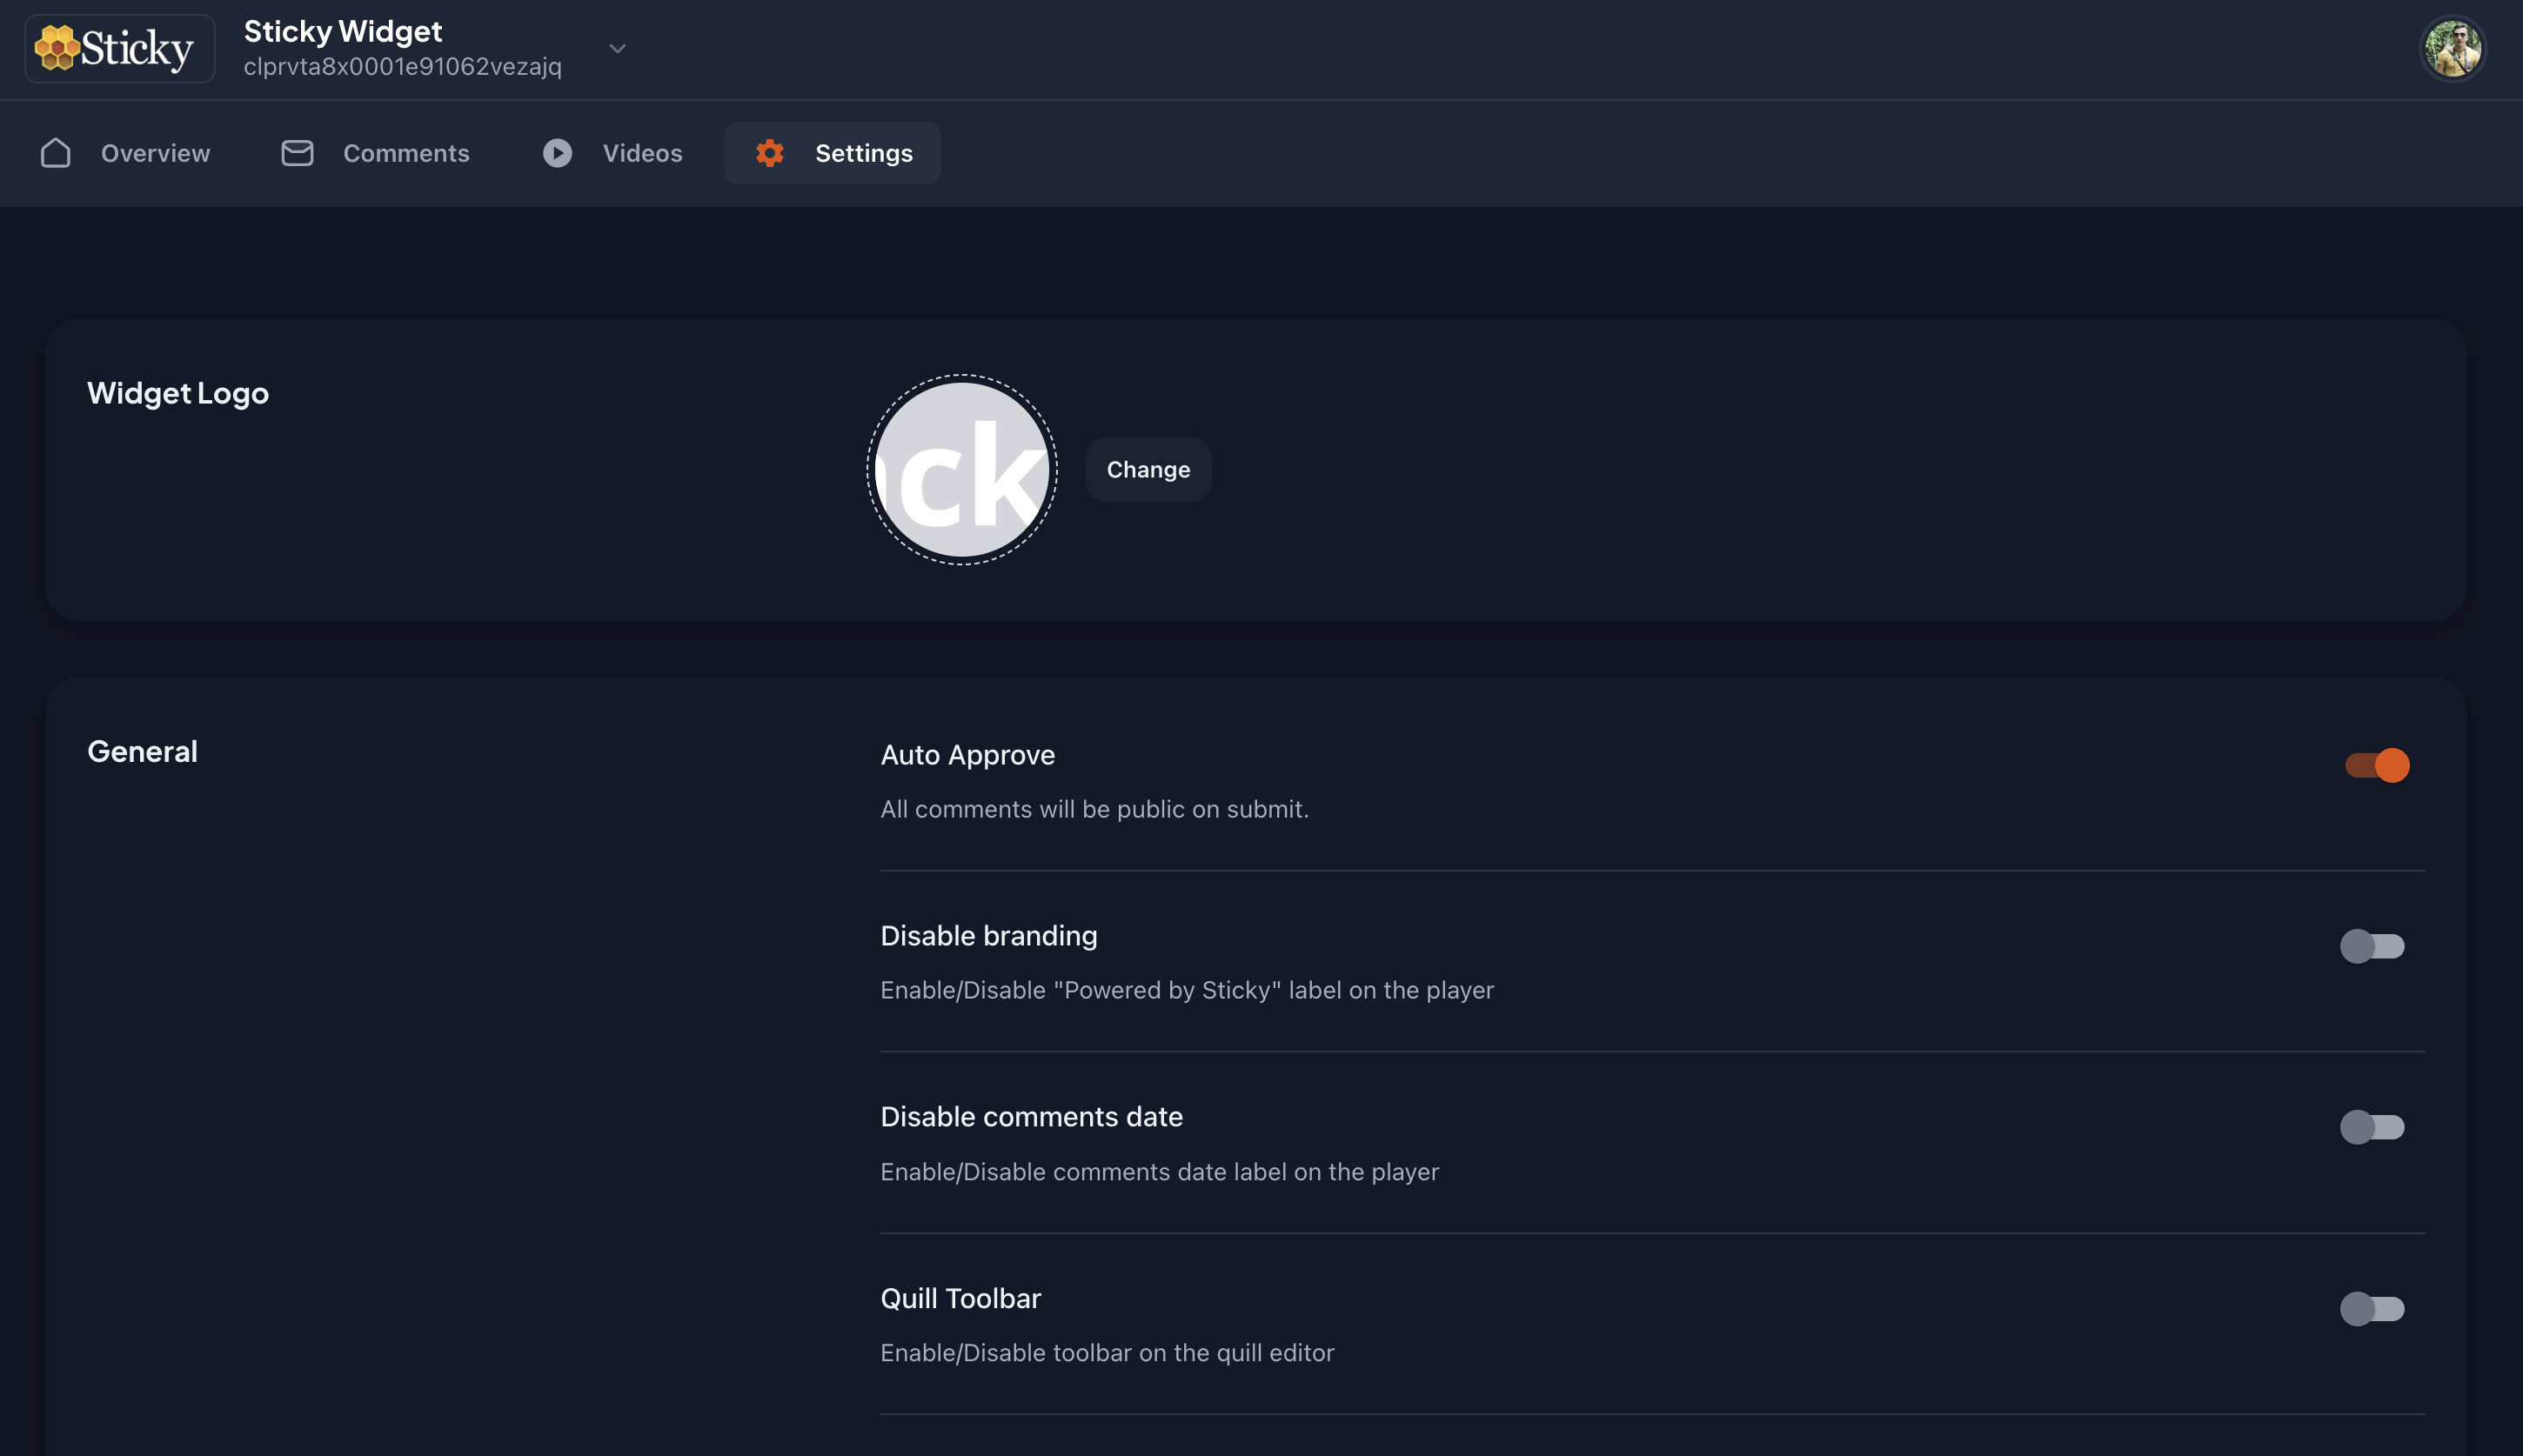
Widget Logo
You can upload the logo of your widget. This logo will be displayed in the widget header.If you don't upload a logo, the widget will display the default logo.

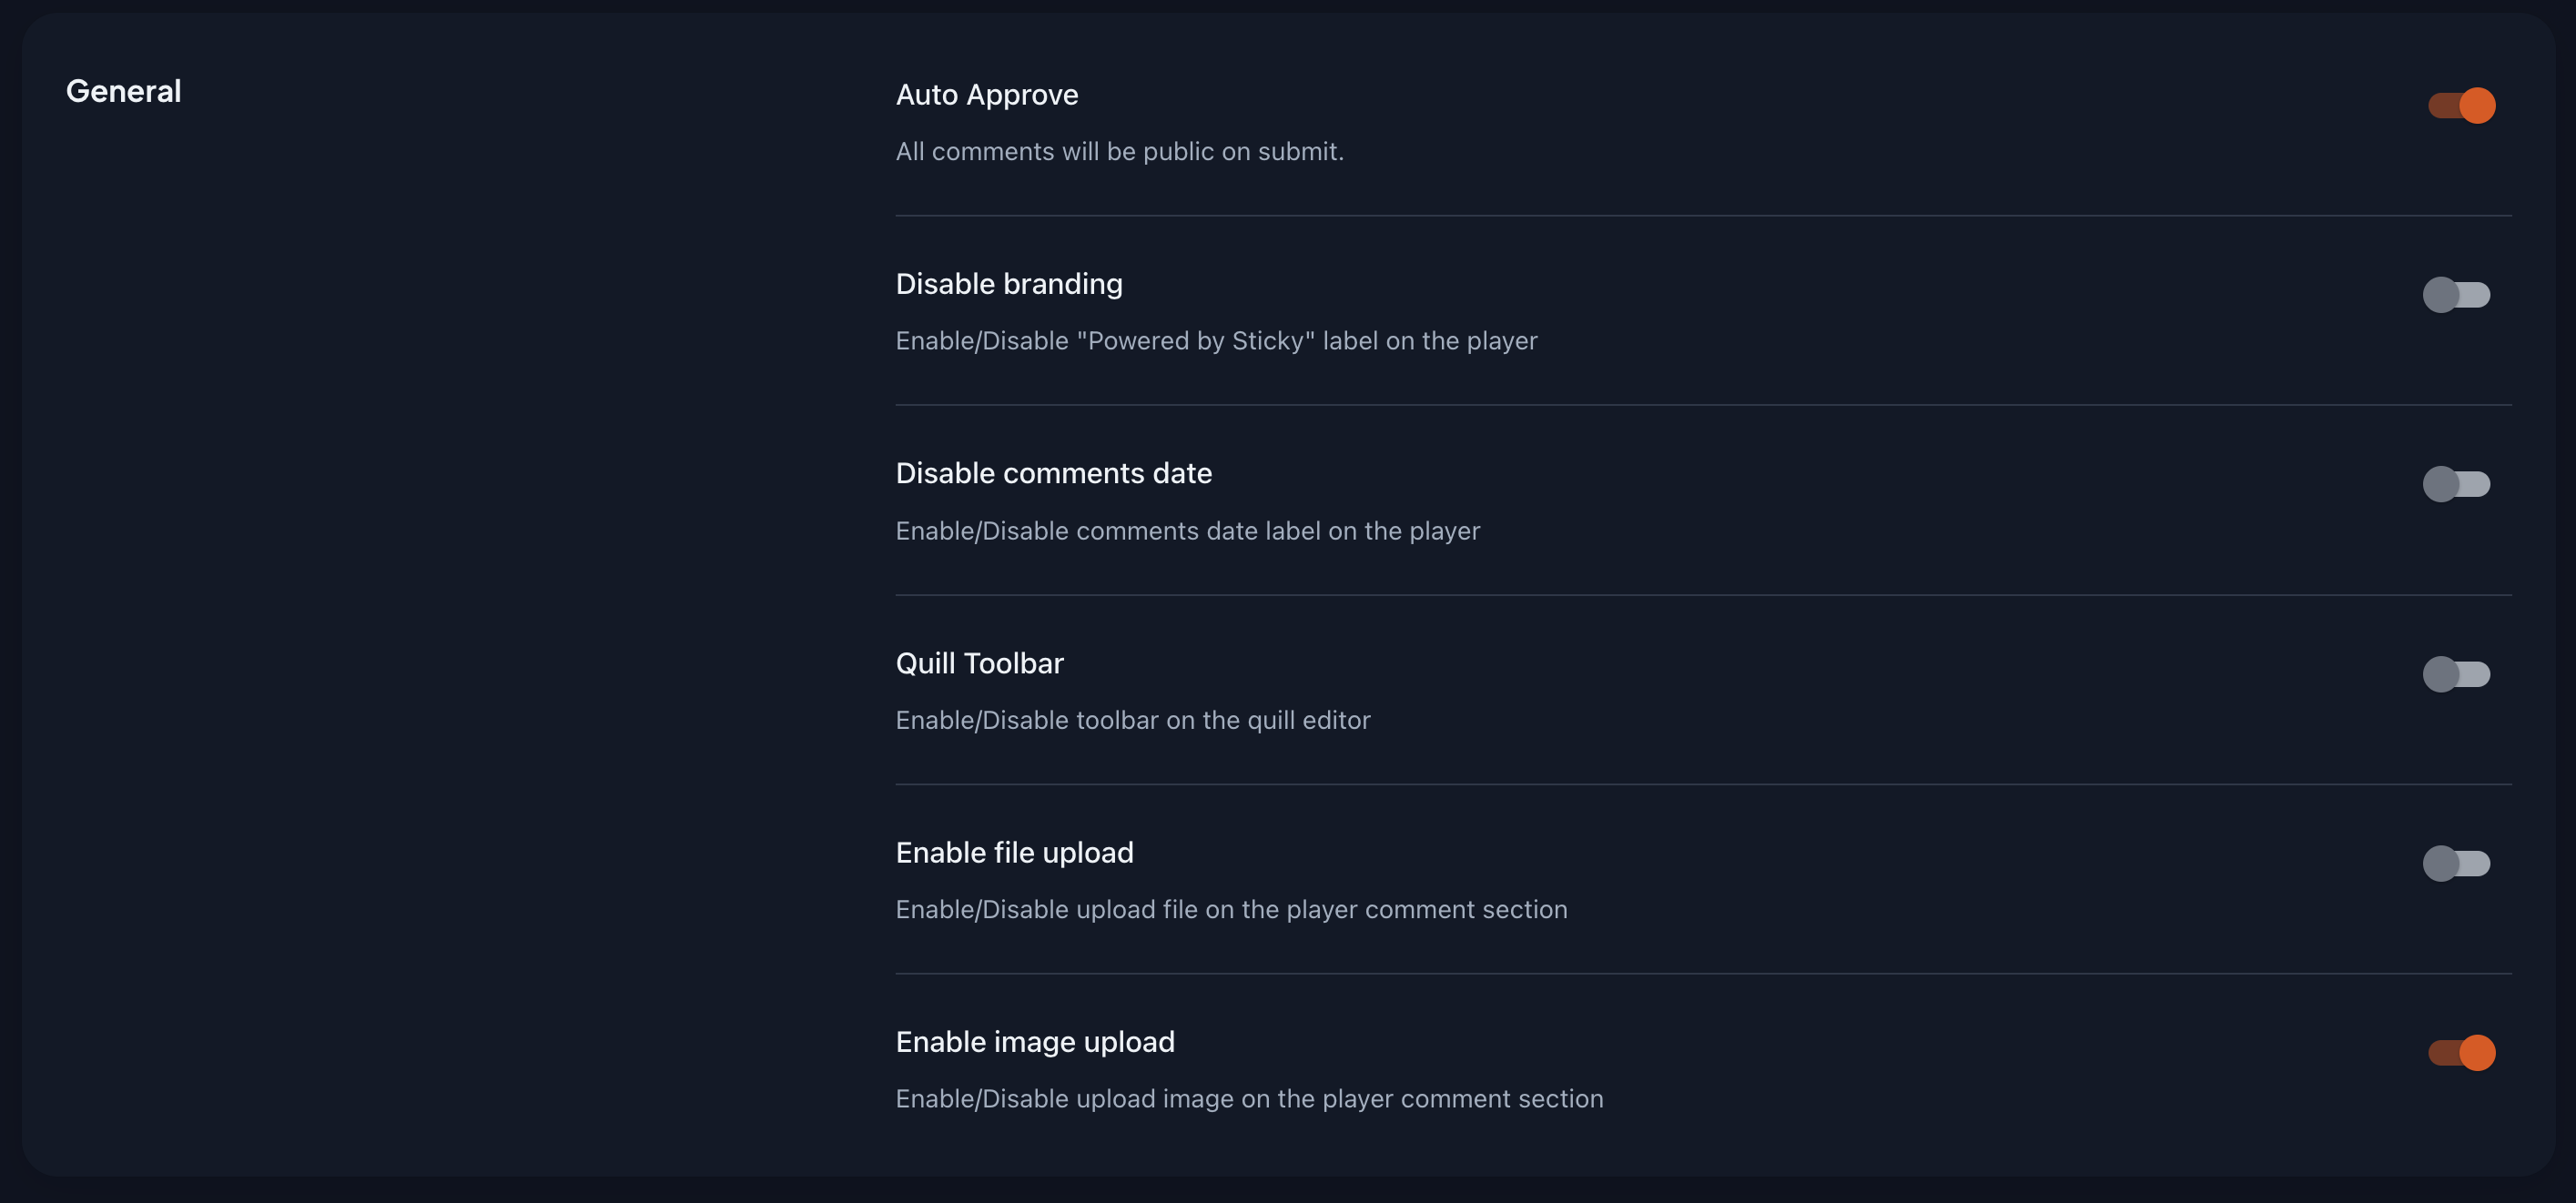
General Settings
Here you can configure the general settings of the widget. You can configure the following settings:
- Auto Approval of Comments
- Disable Branding
- Disable Comments Date
- Enable/Disable Quill Editor
- Enable/Disable File Upload
- Enable/Disable Image Upload
Share Settings
Here you can configure the share settings of the widget. You can turn on/off the share options.
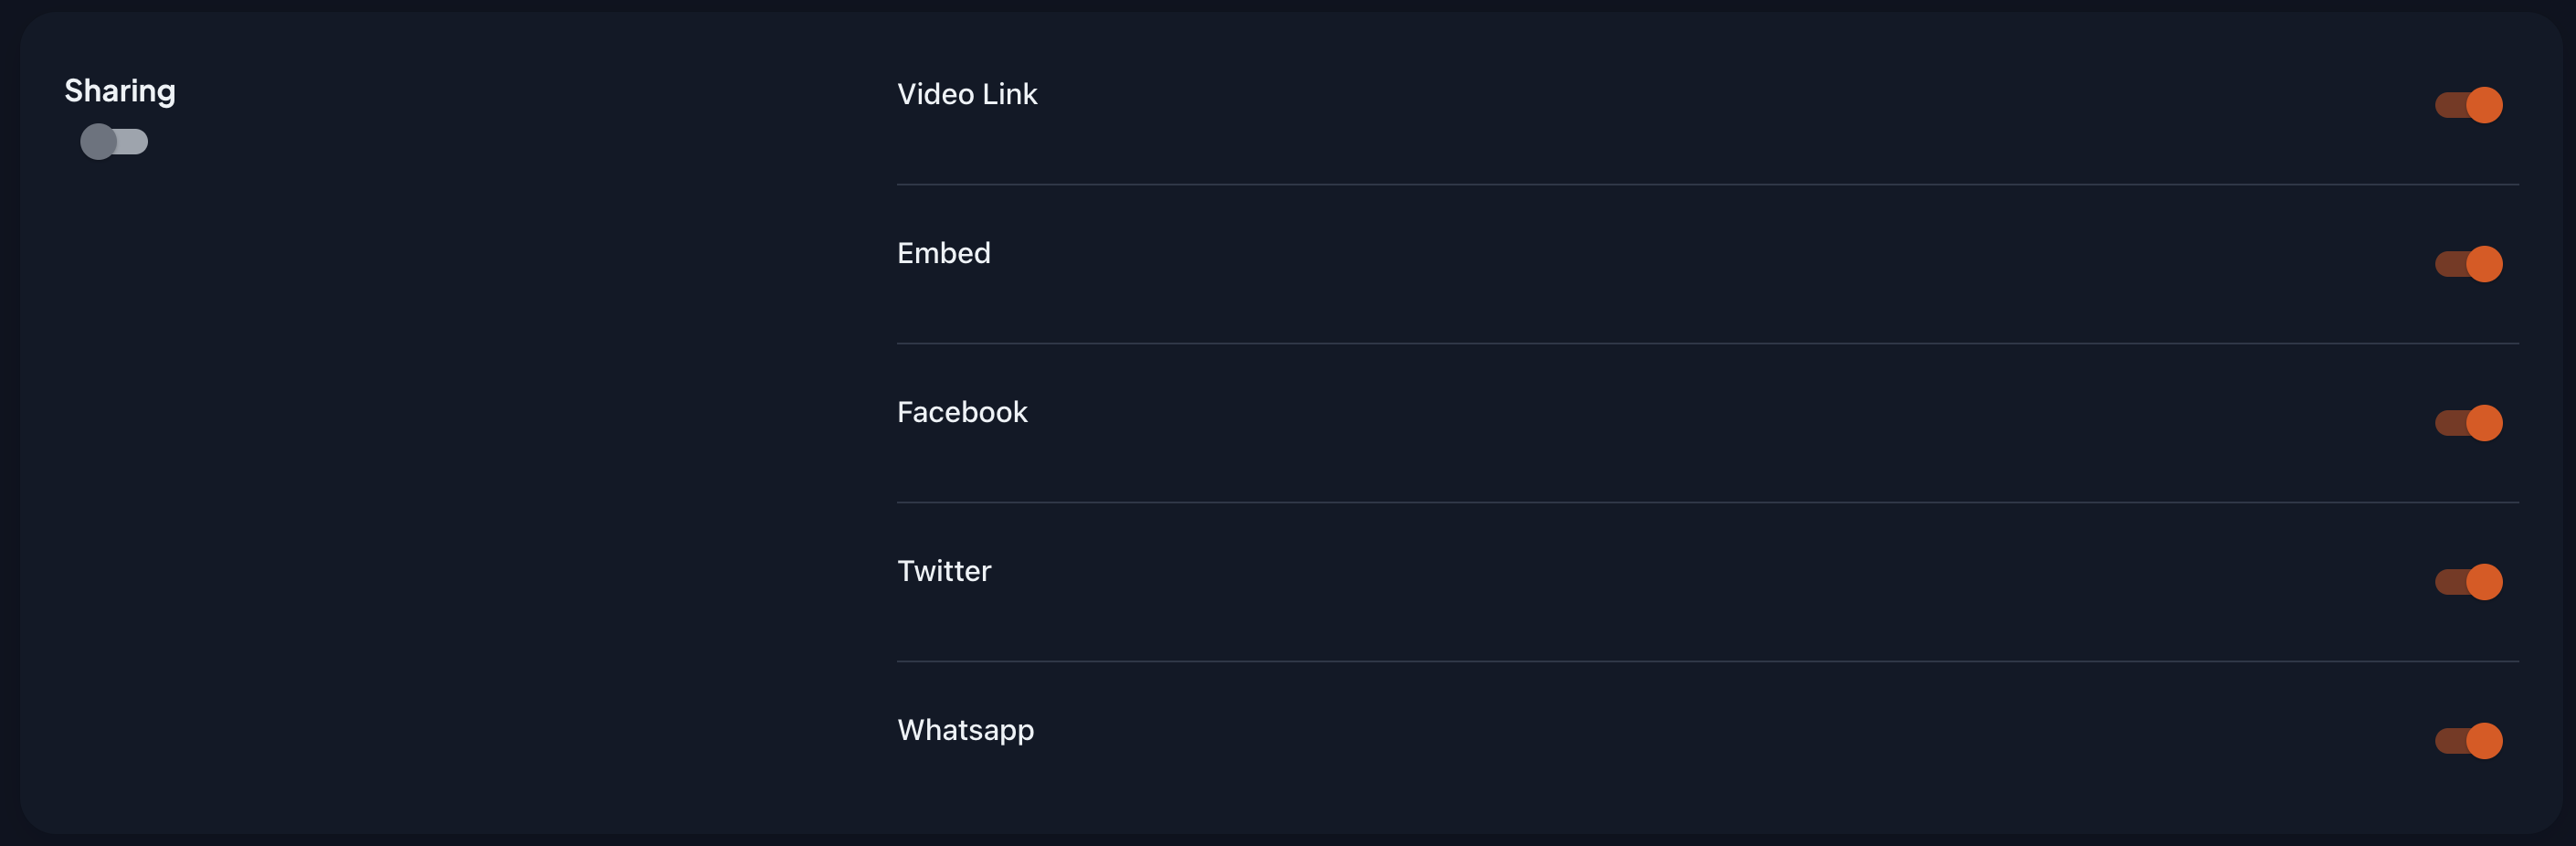
You can turn on/off each share option, or you can turn off all the share options at once with the left switch.
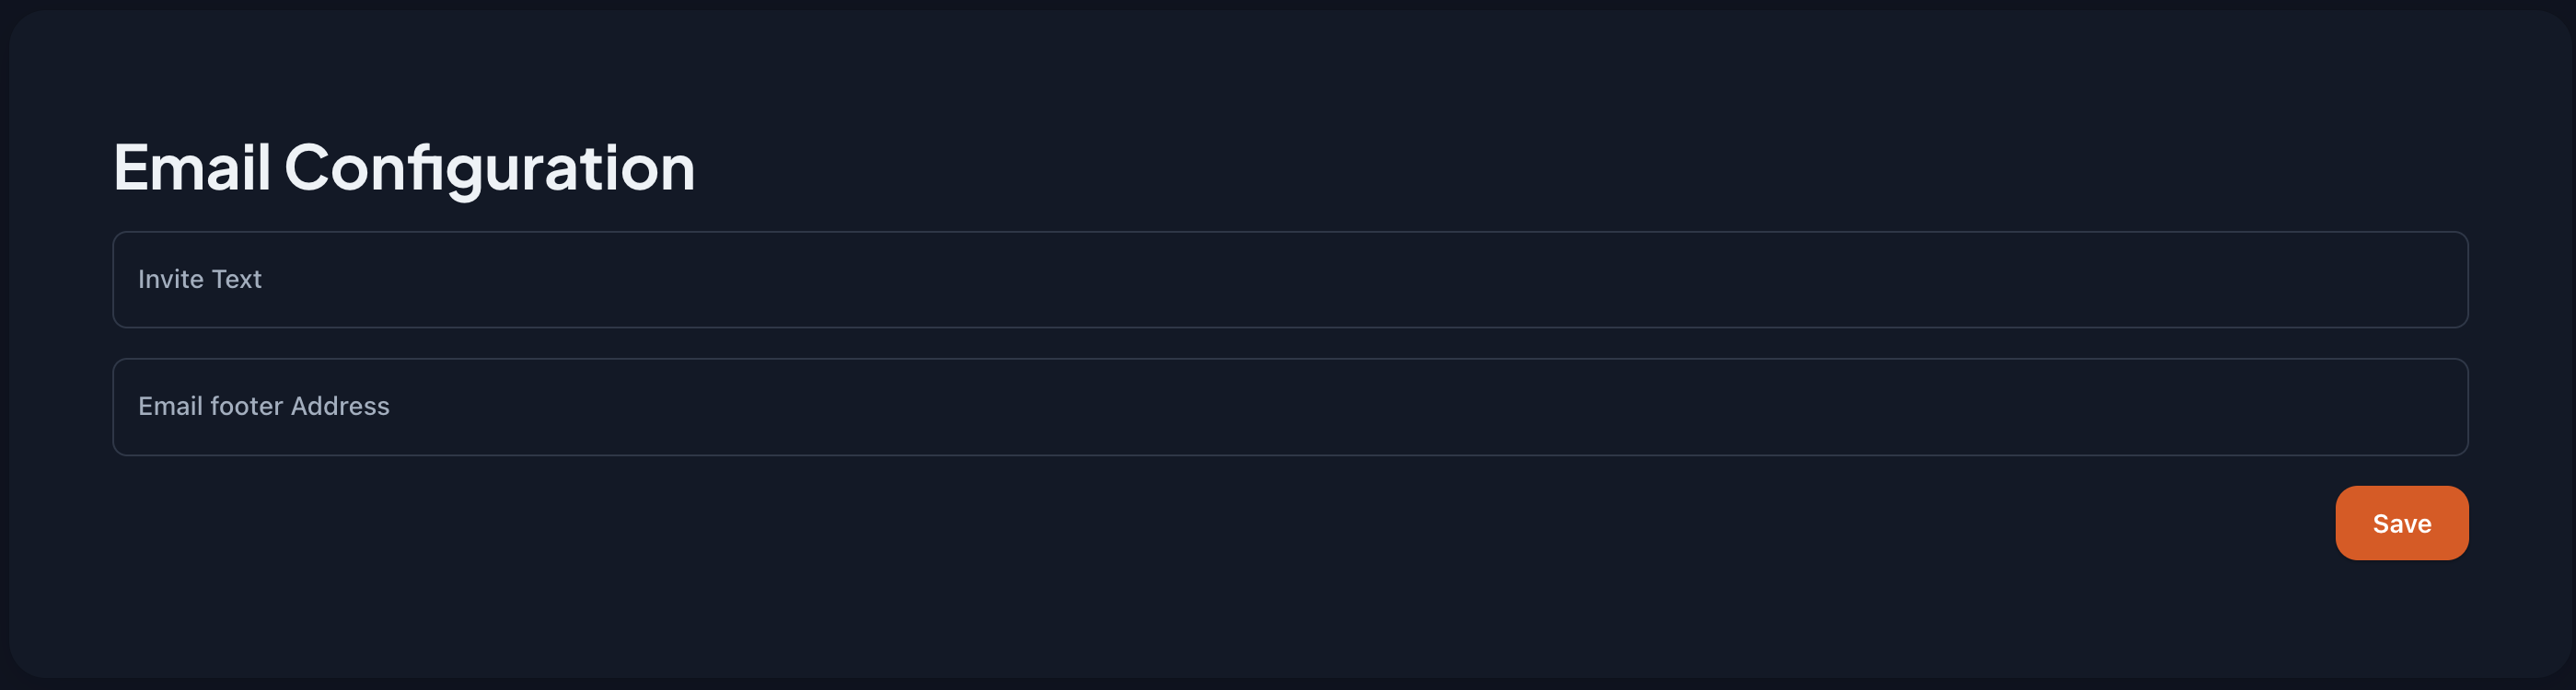
Email Configuration
Here you can configure the email settings of the widget. You can modify the 'Invitation text' and the 'Email footer text' text.
Email Domain
Here you can configure the email domain for the widget. You can add the domain you want to use for the email notifications.
Note:
By default, the email domain is set to 'player@stickytechnologies.com'. You need to add the domain you want to use for the email notifications.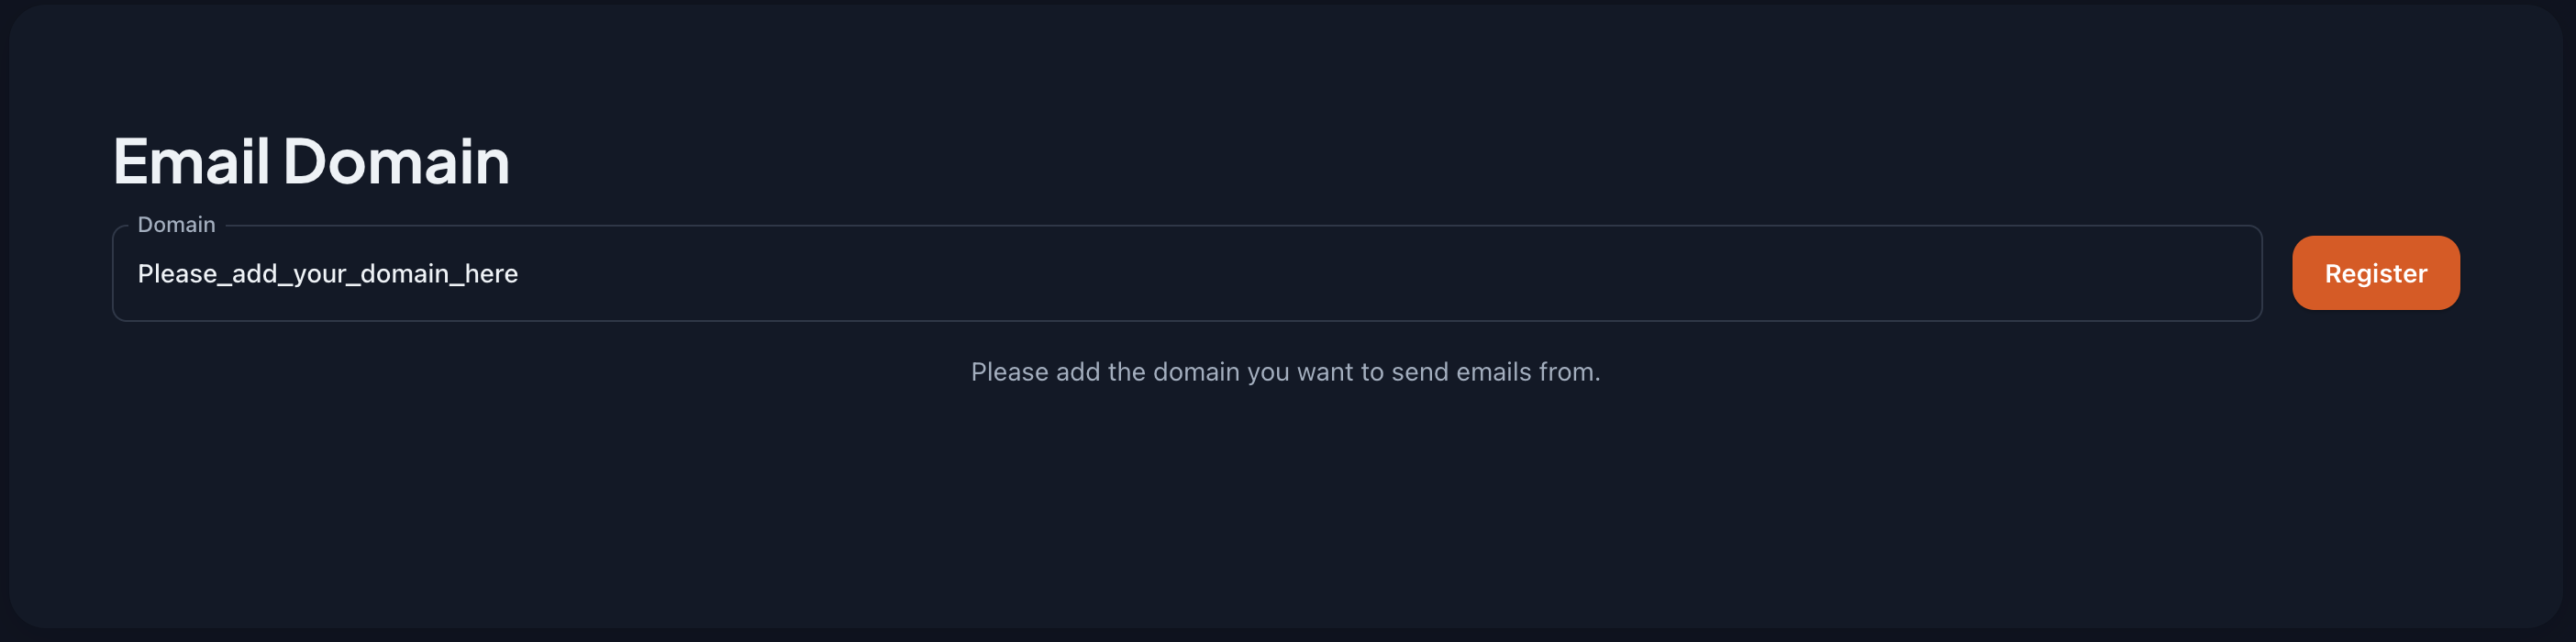 You need to add the domain you want to use for the email notifications.
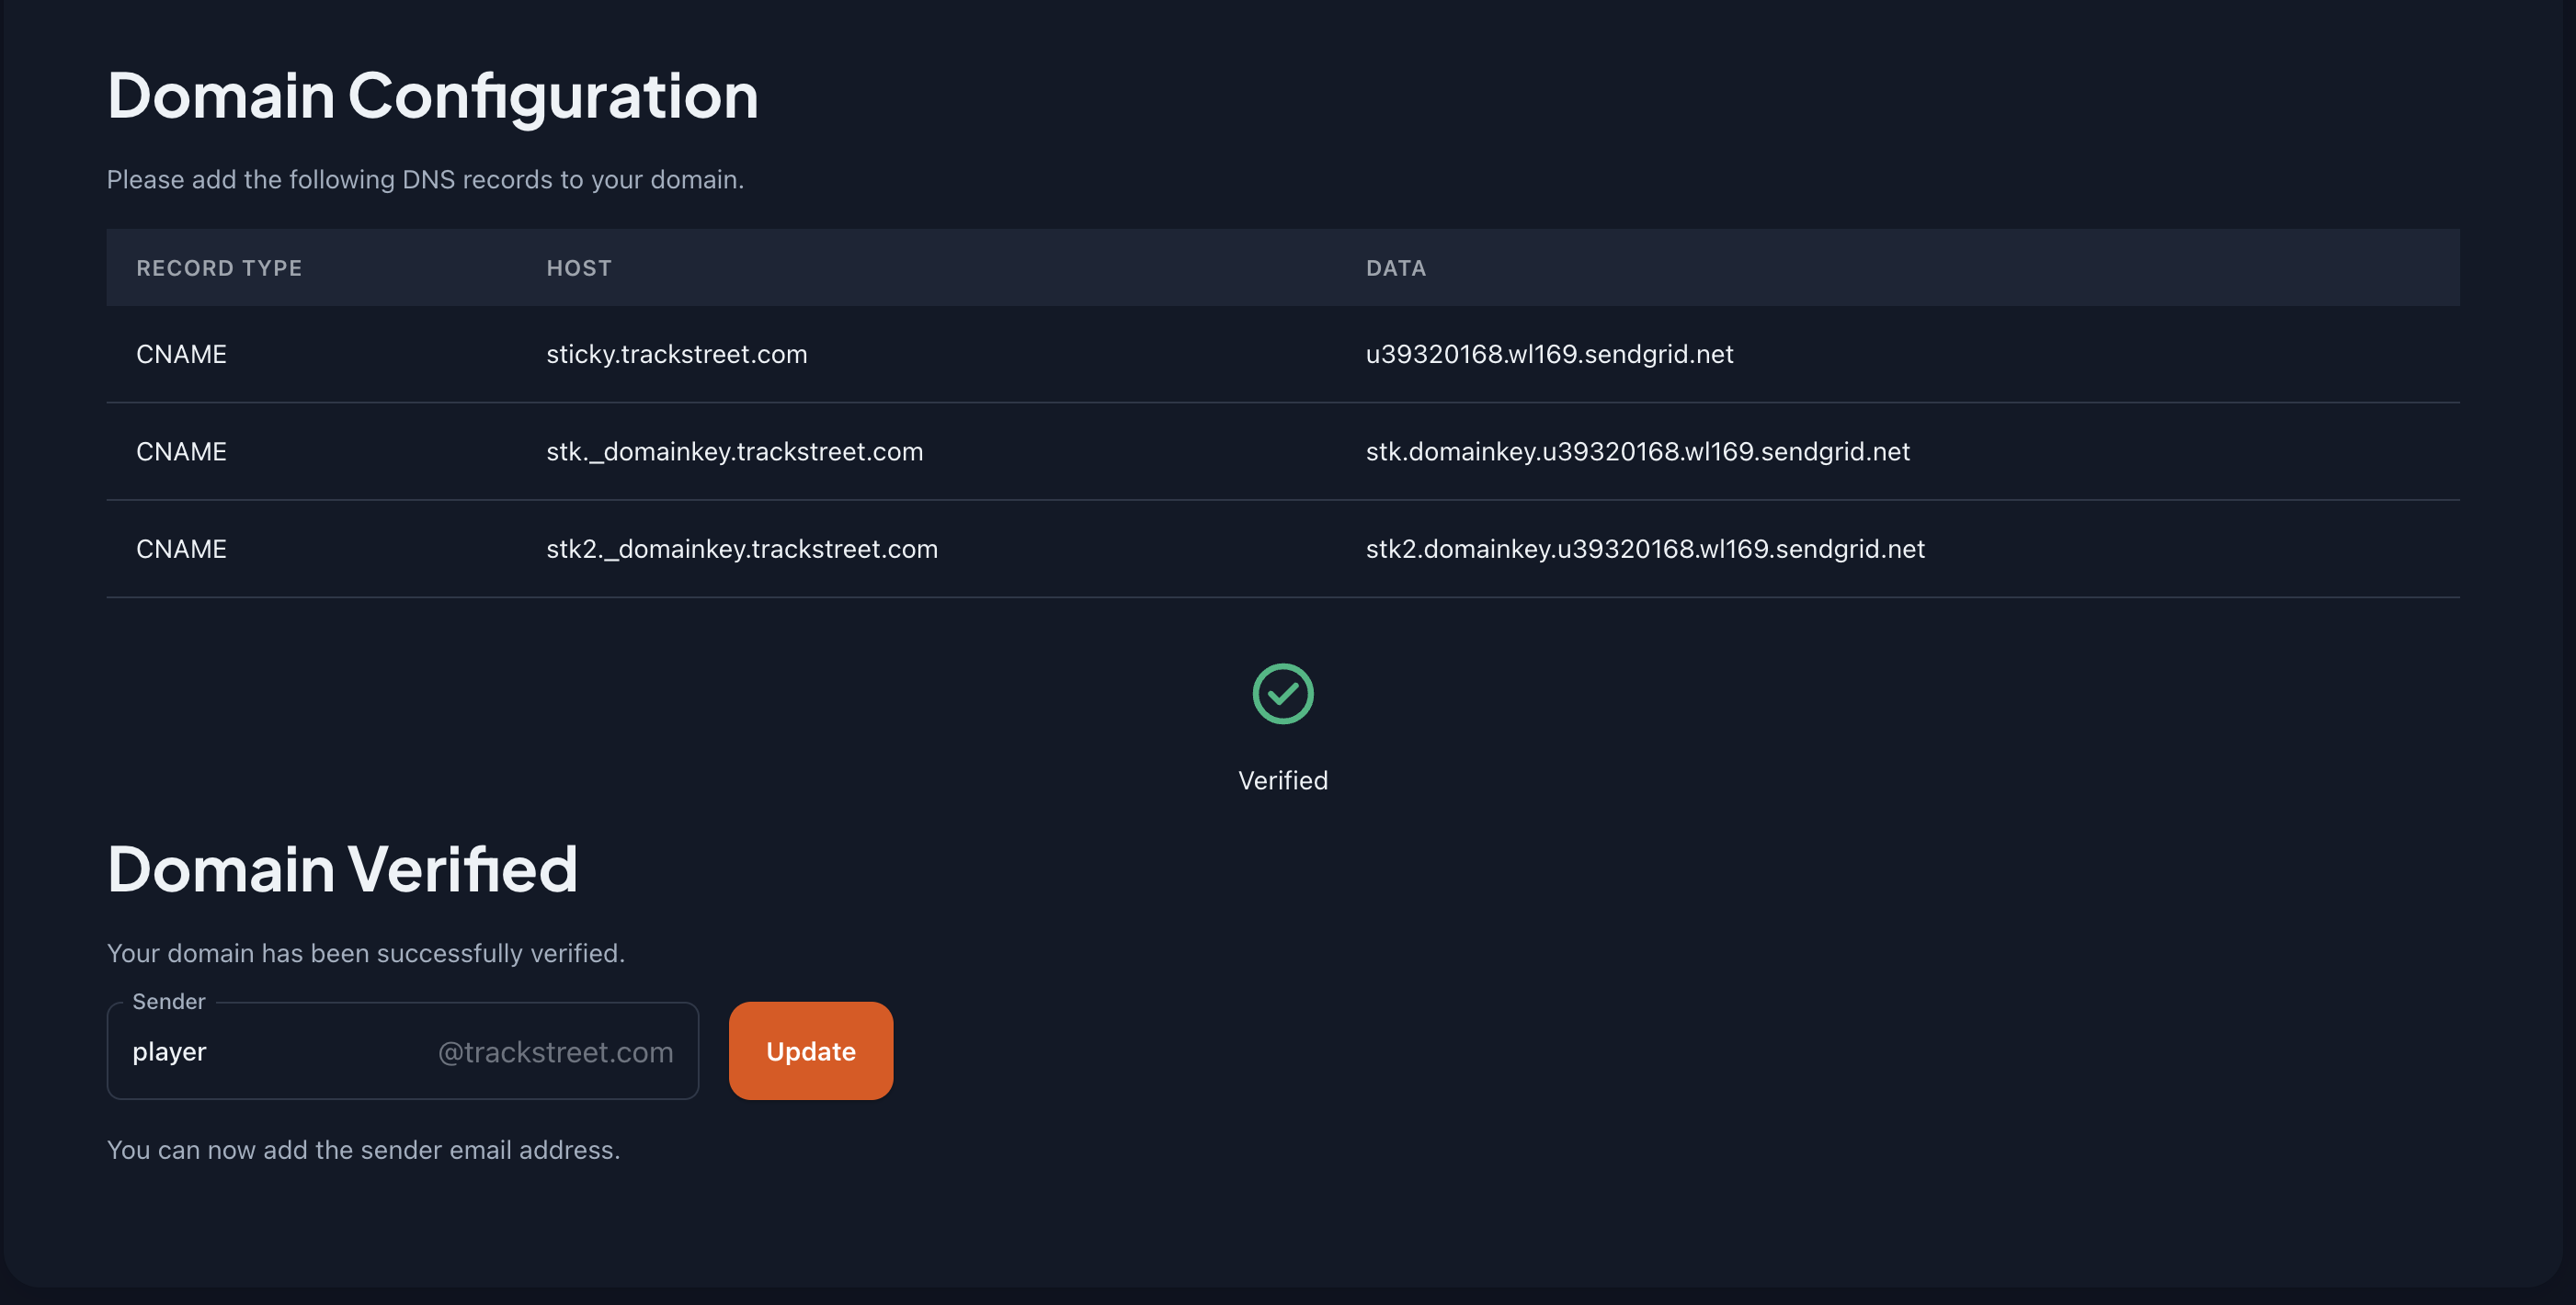
Once you add the domain, you need to verify it. You can verify the domain by adding a TXT record to your DNS settings.
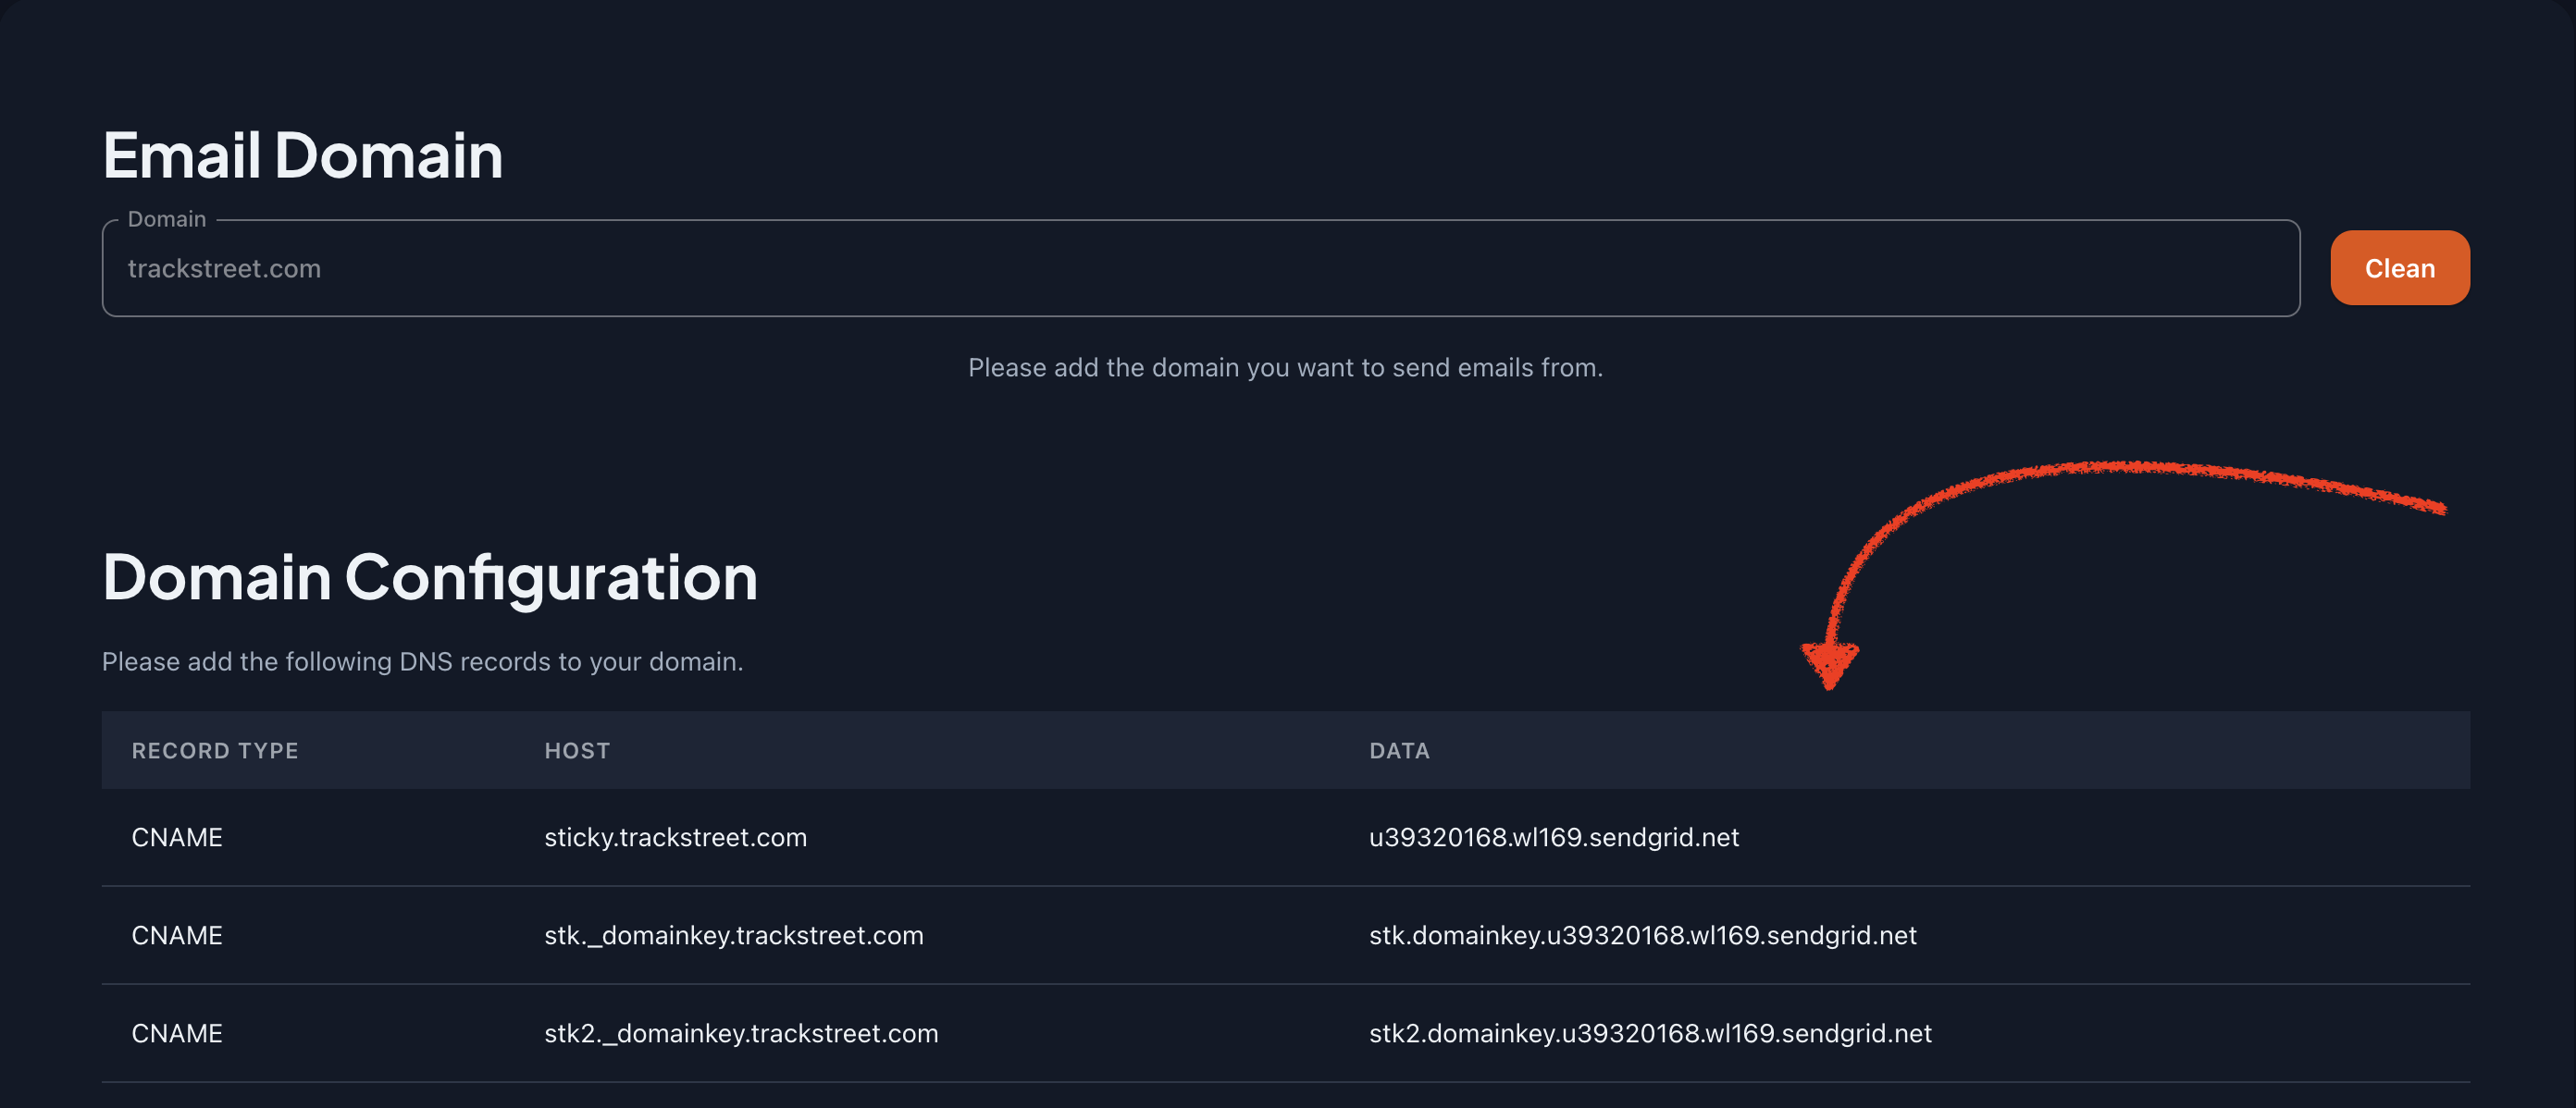
Note:
The domain verification process can take up to 48 hours. Once the domain is verified, you can start sending email notifications from the widget.You can check the status of the domain verification in the 'Verify' button. Once the domain is verified, you can start sending email notifications from the widget. And you can see a green checkmark in the 'Verify' button.
Now you can update the sender email address.
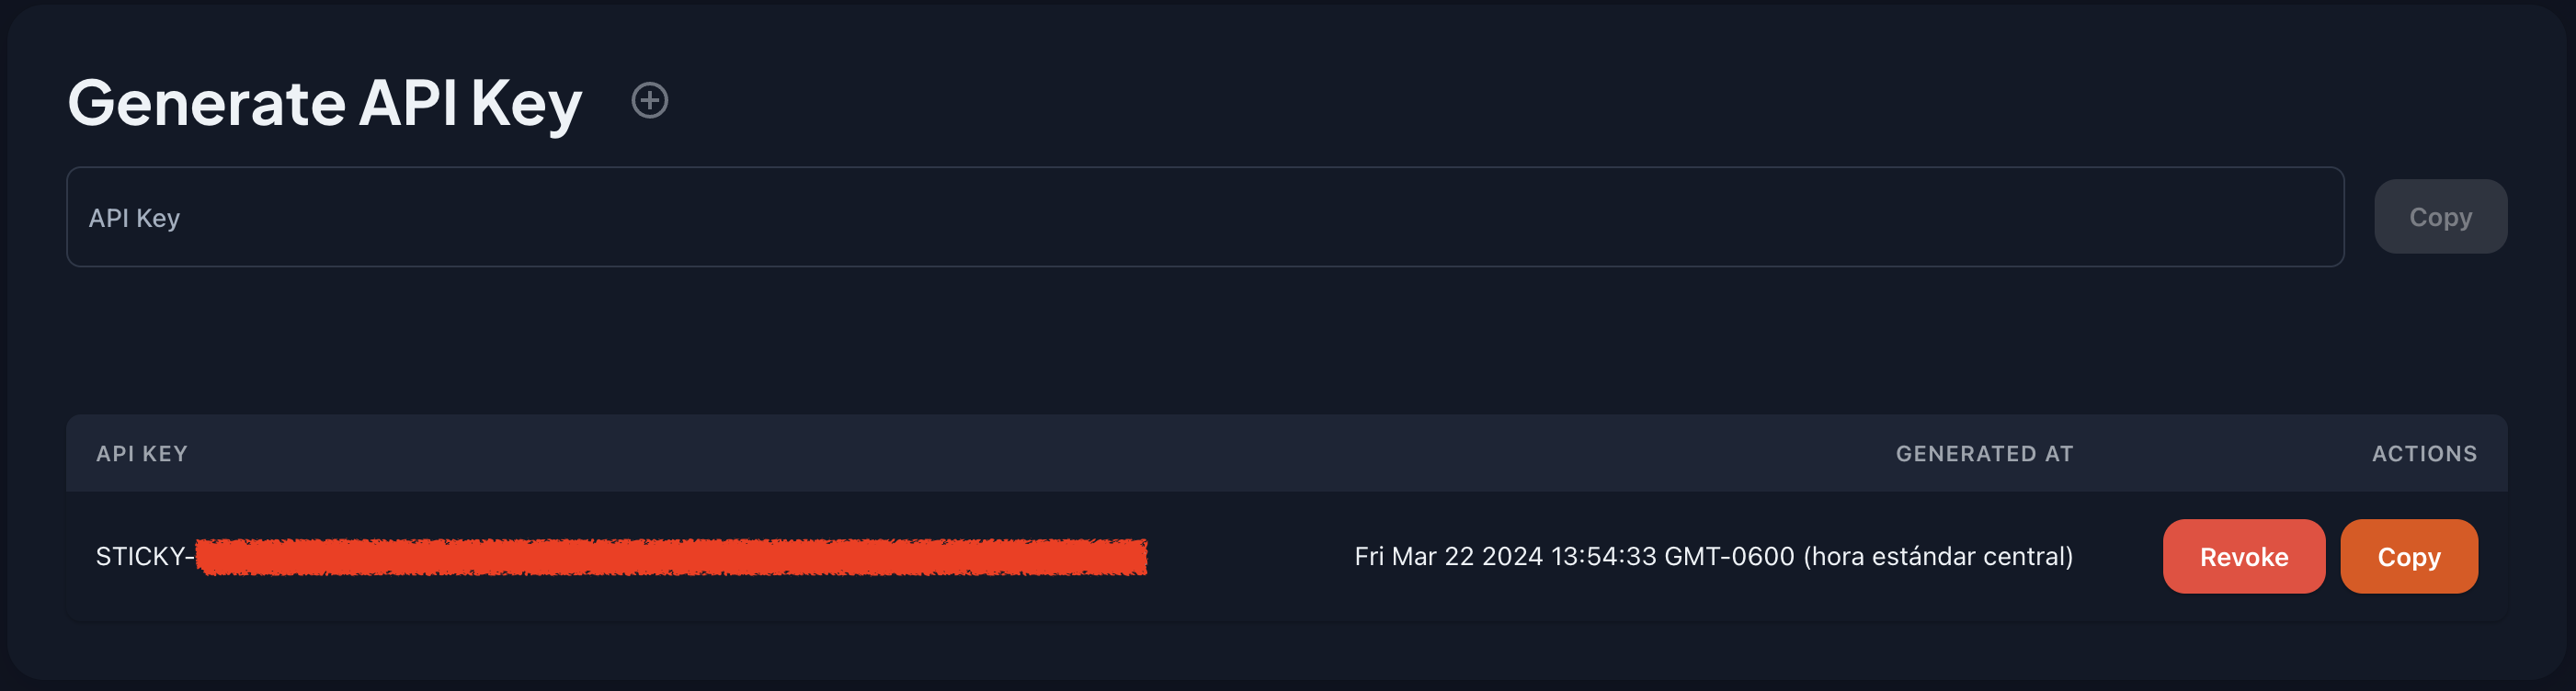
Generate API Key
Here you can generate an API key for the widget. You can use this API key to authenticate the widget with the Sticky API. You can generate multiple API keys for different purposes.

To generate an API key, click on the '+' button. You will see a modal with the API key. You can copy the API key and use it in your application.

Now you can see the API key in the list of API keys. You can copy the API key by clicking on the 'Copy' button.
Also you can see the API key table, you can copy and revoke the API key.